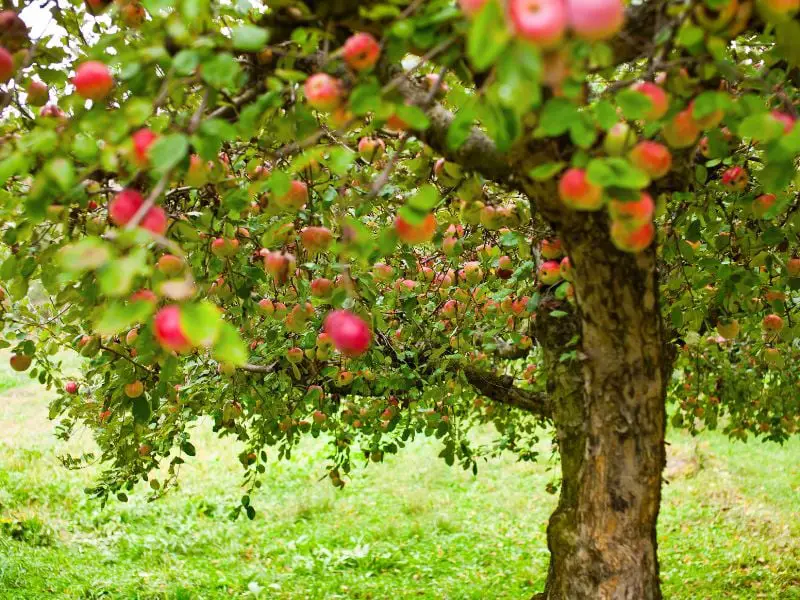
Apple gardening can be a rewarding and enjoyable activity. Planting apple trees brings both exciting challenges and the potential for meaningful rewards. With the proper knowledge, you can quickly start your DIY apple garden and munch on your tasty harvest.
In this article, we’ll discuss creating an apple garden from scratch, choosing the best soil, planting tips, managing your new trees when they produce fruit, maintaining considerations throughout the season, and more!
How to Start Apple Gardening
Conditions of Your Garden
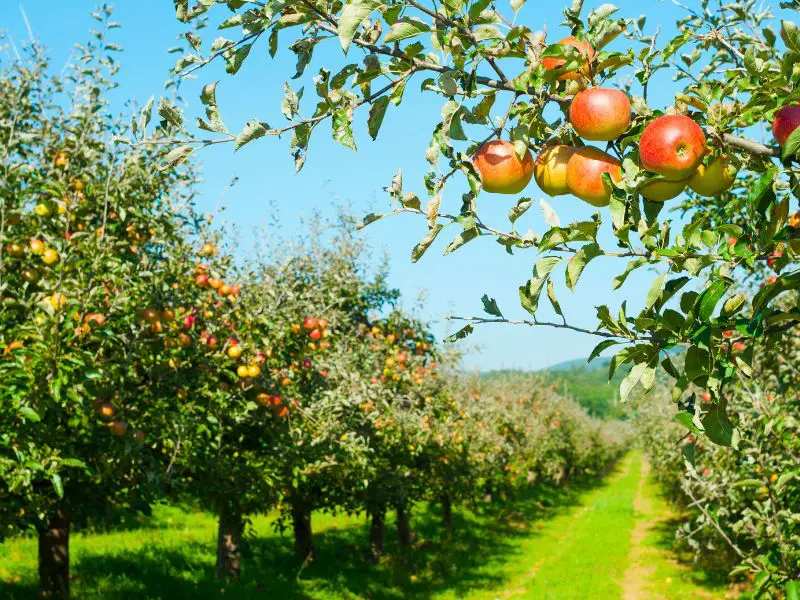
Choosing a suitable location in your garden with the right conditions is essential to start an apple garden from scratch. Apple trees thrive in loamy soil with good drainage, full sun exposure for at least 6 hours per day, consistent moisture, and a climate that suits the chosen apple varieties. Before planting, research common pests and diseases in your area and take preventive measures such as choosing disease-resistant apple varieties, using organic pest control methods, and maintaining good garden hygiene.
Prepare to Plant
Selecting the right location and soil is crucial to cultivate a thriving apple garden. Here are some tips to keep in mind:
• Find a sunny location: Apple trees demand full sun to flourish, so choose a spot where the tree can bask in direct sunlight for at least 8 hours each day.
• Test your soil: Apple trees can grow in most soil types without standing water, with a pH level between 6 and 7. To ensure optimal soil conditions, test before planting and amend the soil as recommended. Avoid planting in areas where water tends to pool after rain. By finding the right spot and soil for your apple trees, you’ll set the foundation for a successful and fruitful garden.
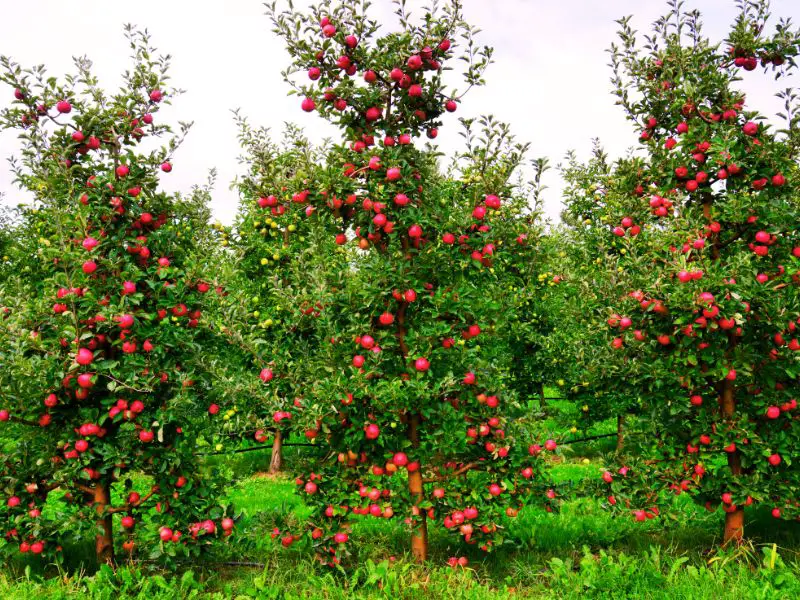
• Spacing: The spacing of your apple trees is critical to ensure a bountiful harvest. Provide at little as much horizontal space as the anticipated height of the tree. Standard trees require 20-25 feet, semi-dwarf trees need 12-15 feet, and dwarf trees can be planted 6-8 feet apart. Planting trees too close together increases shading and reduces the number and quality of the fruit coming from your tree.
Steps in Successful Planting
Planting apple trees is an essential step toward creating a thriving orchard. To ensure a successful planting, follow these key steps:
Step 1: Dig a hole no more profound than the root ball and twice as wide, and pile the soil nearby.
Step 2: Inspect the roots of bare root or container-grown trees, removing any encircling or J-shaped roots that could strangle the trunk.
Step 3: Position the tree, so the graft union is about 4 inches above the soil line and spread the roots.
Step 4: Have someone give you a hand to get the tree standing straight, then add the soil back into the hole, tamping gently as you remove air pockets.
Step 5: Water the tree thoroughly to remove any remaining air pockets and settle the soil, adding more soil if necessary.
Following these steps, you can set your apple trees up for a healthy and bountiful future.
Watering, Weeding, and Fertilizing
Proper care and attention are vital to the success of your apple trees. Here are some essential tips to put in mind:
• Watering: Water the root zone thoroughly during dry spells, and ensure the tree receives one inch of water per week from May through October.
• Support: Staking your tree for the first few years is a good idea to help it establish a robust root system. Use a comprehensive, non-abrasive material to fasten the tree to the stake, and avoid narrow fastenings that may cut into the bark.
• Tree guards: Install tree guards during planting to protect the trunk from winter injury and bark-chewing small mammals. These guards also reflect sunlight from the trunk, preventing it from heating up on a cold, sunny day.
• Fertilizer and mulch: Once established, apple trees thrive with minimal fertilization, usually only requiring nitrogen. Applying a few inches of mulch around the tree’s base will help prevent weeds, but ensure that the mulch is inches from the trunk to control rodent damage and fungal growth.
• Weeding: Remove grass and weeds from a 3-foot radius around the tree for the first three to five years. Grasses can deplete soil moisture rapidly, reducing tree growth.
Harvesting and Storing Apples
As the culmination of all your hard work, harvesting your apples is an exciting and rewarding experience. Here are some tips to help you get the most out of your harvest:
• Patience is key: Be patient and wait for your apples to reach their peak of perfection before harvesting.
• The right time to pluck: When those green apples change their background color, you know it’s time to get pickin’. To ensure they’re ripe and ready, give them a little twist around and up – the stem should come off nice ‘n easy without any yankin’ necessary.
• Harvest season: Different apple varieties mature at different times so that the harvest season can stretch from August to October. Overripe or soft apples can be used for cooking.
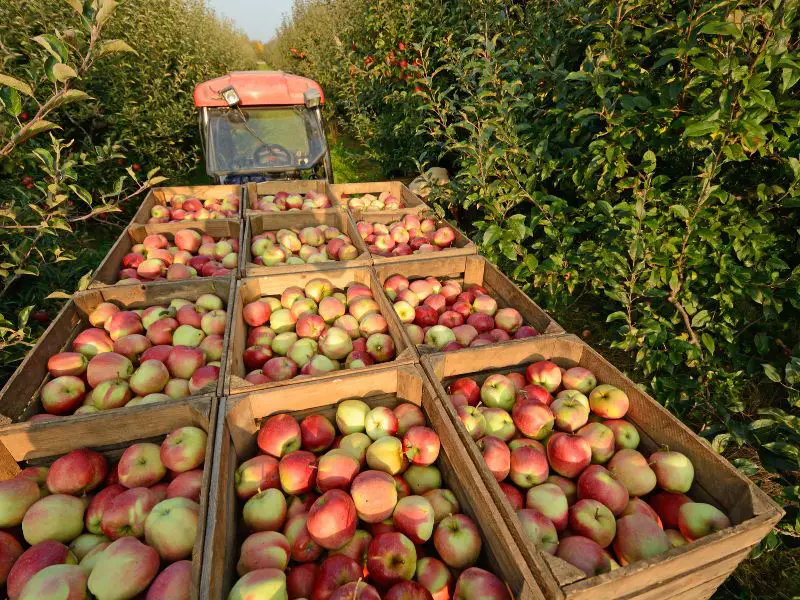
• Storing apples: Only store mid or late-season apples, and ensure they are free of bruises or blemishes that are entry points for rot. Wrap individual fruits in newspaper or tissue paper and store them on trays that allow air to circulate. Keep different varieties separate and store them in a cool, dark, and well-ventilated area like a garage or shed. Monitor held apples regularly and remove any that go soft, brown, or rotting.
Apple Gardening Seasons
March: Prune existing trees before growth begins, but only after the last of the coldest weather has passed.
April and May: Plant bare root trees as soon as the soil can be worked. If last year’s growth was less than a foot, apply compost around the tree’s base.
May and June: Plant potted trees as soon as the frost threat has dissipated. Watch insect and disease symptoms closely once the flower buds start turning pink.
May through October: Water the trees regularly between May and October, just like any other tree in your yard.
June and July: Thin out the fruit to encourage larger apples by removing the smallest ones.
August through October: The much-awaited harvest season. To gauge the ripeness of the fruit, taste it when it appears fully colored. If it’s still too starchy, wait a few more days.
October and November: Rake up any fallen leaves and fruit and compost or discard them. Wrap your trees to protect them from winter injury.
November through March: Be on the lookout for any damage caused by deer or voles, and if needed, put fencing around the tree.
Bottomline
Apple gardening can be a fulfilling and enjoyable activity for anyone willing to put in the effort. From choosing the right location and soil to planting and caring for your trees, there are many aspects to consider when starting an apple garden. With patience and proper care, you can watch your trees thrive and enjoy the fruits of your labor during harvest season. By following the tips summarized in this article, you’ll be well on your way to cultivating a successful and bountiful apple garden.
Learn how to grow delicious and nutritious strawberries and dragon fruit in your own backyard with our expert tips and advice. Start your own fruit garden today and savor the taste of fresh, homegrown produce.
Uncover the impressive health benefits of apples. From boosting immunity and promoting heart health to aiding digestion and supporting weight management, explore how this Popular fruit packs a powerful nutritional punch.